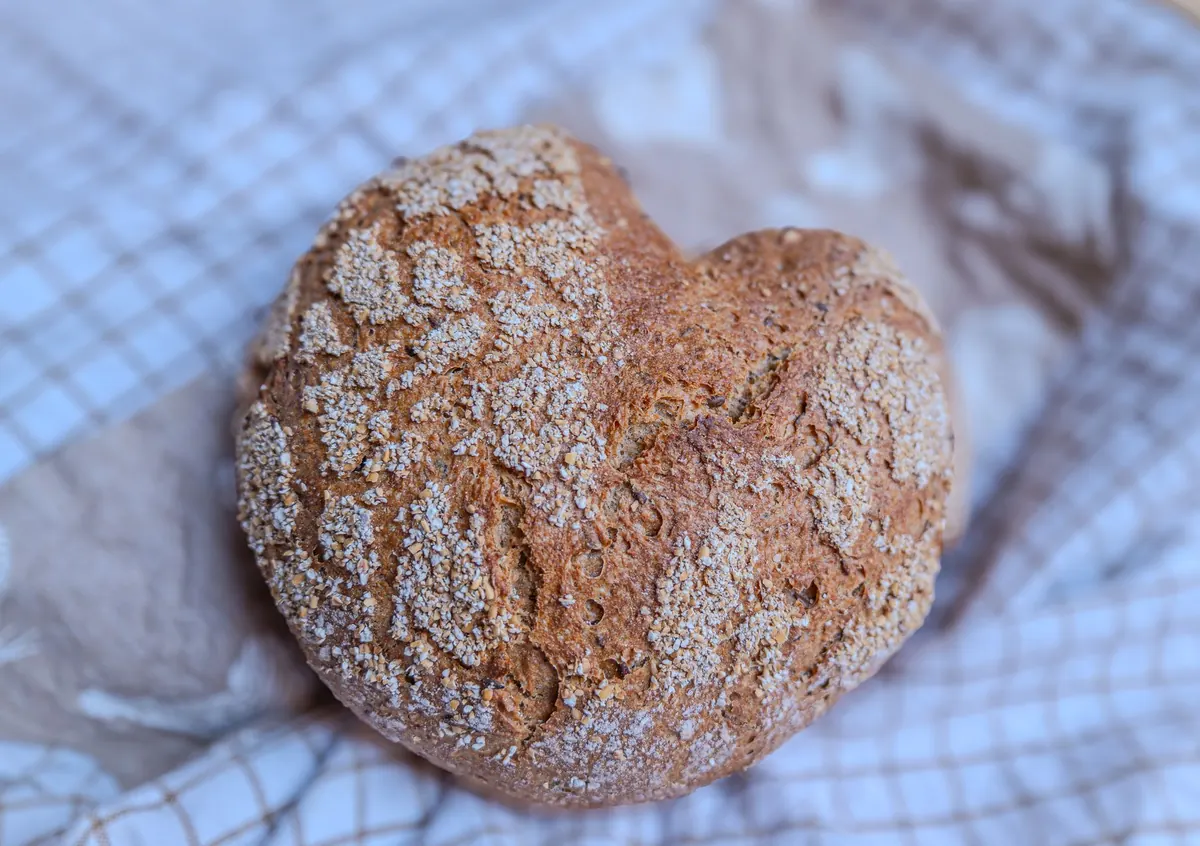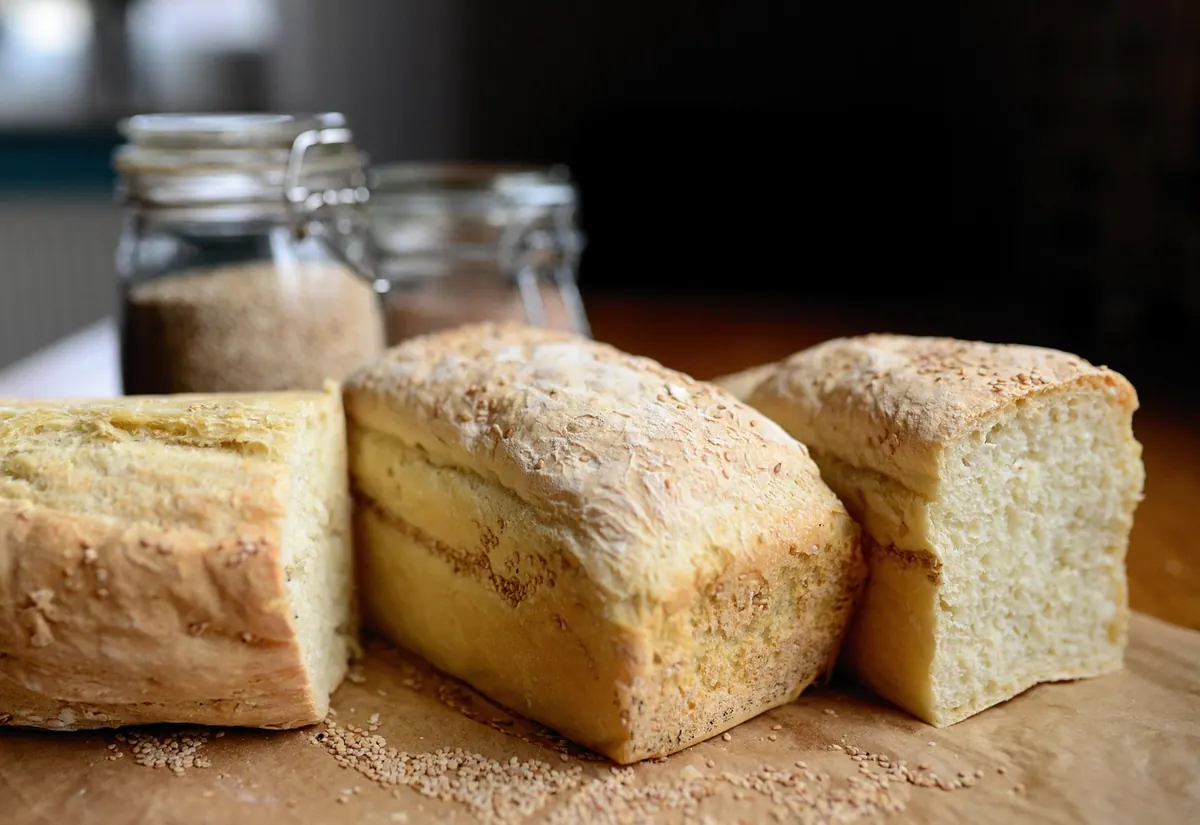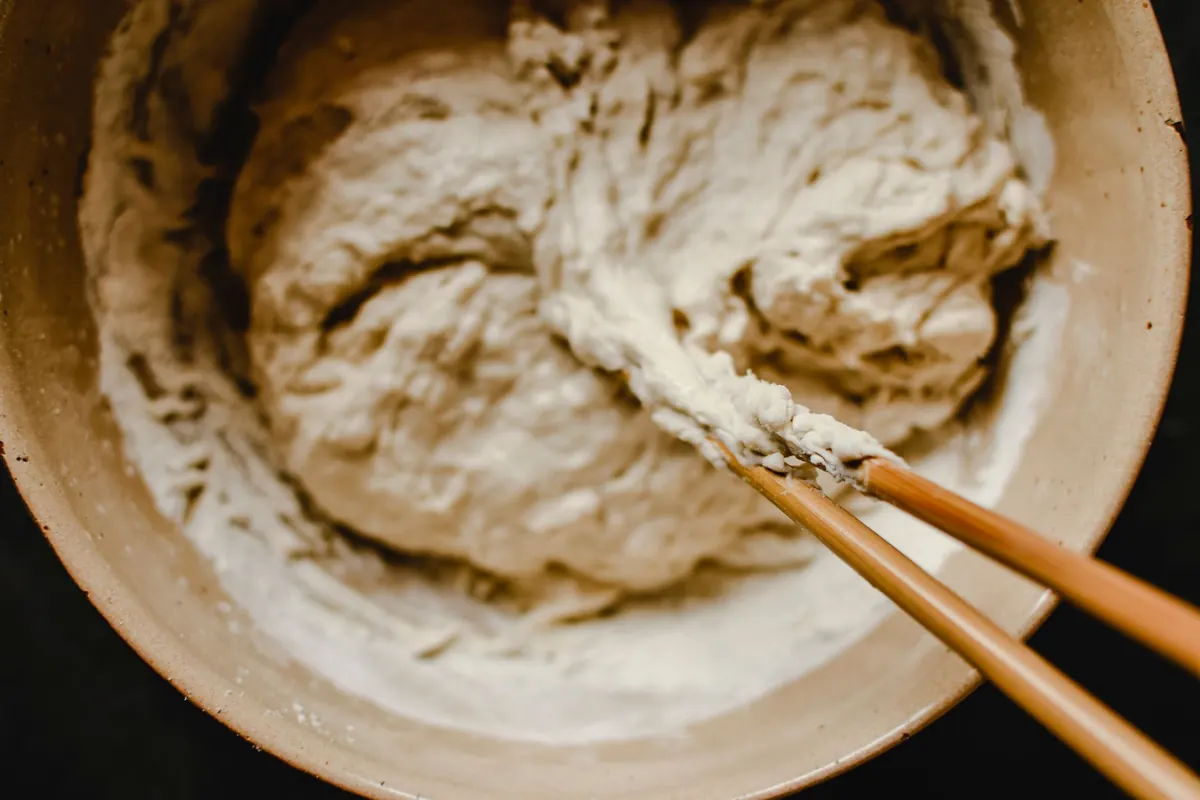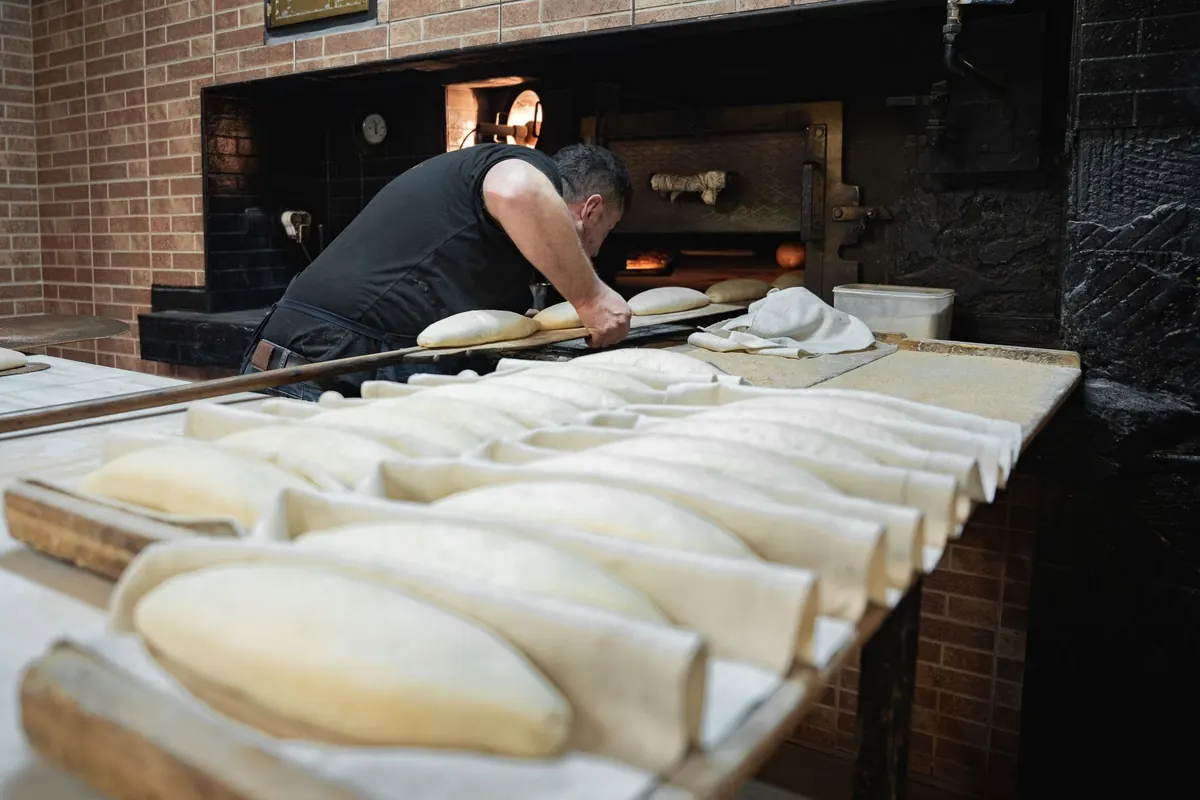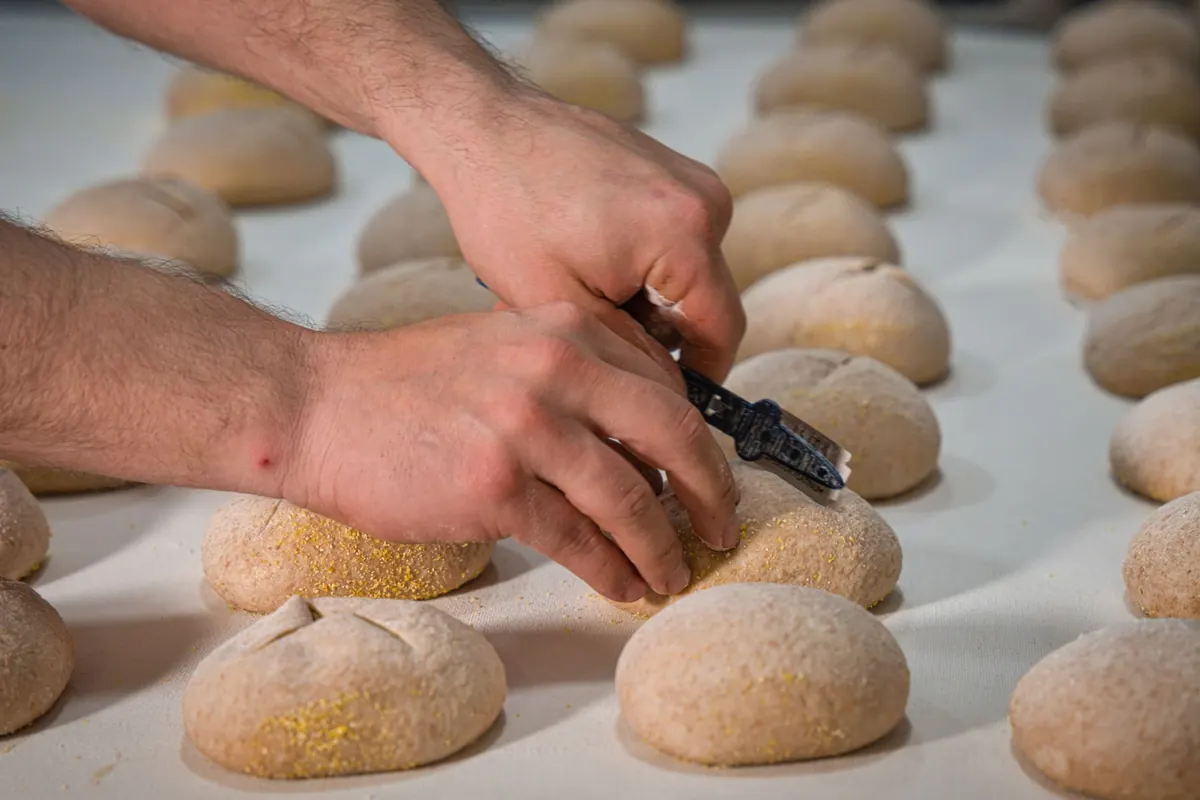
There is a moment, somewhere between shaping and the oven, when a perfectly proofed loaf is sitting on the counter, dusted with flour, and you are holding a blade in one hand. What you do in the next thirty seconds decides a lot: how the bread opens, where it browns deepest, whether you get a crisp raised ear or a flat, tight crust. Scoring looks decorative. It is also structural.
The good news is that you do not need a dozen patterns to bake beautiful bread. You need one reliable cut, a sense of what each pattern does to a rising loaf, and a little restraint. Start with these eight designs, learn what they are for, and you will stop guessing.
How a Score Shapes Oven Spring
Bread rises in the oven because gases in the dough expand and steam pushes outward. Without a deliberate weak point, that force finds its own exit — a blowout at the side, a split along the seam, a crust that tears in a direction you did not choose. A score is a planned weak point. It tells the loaf where to open.
Two variables matter more than any pattern: depth and blade angle.
Depth controls how much of the crust you release. A cut of about one centimetre — roughly half a finger's width — is enough for most home loaves. Deeper cuts on a high-hydration dough give a more dramatic bloom; shallow scratches barely register once the loaf starts to rise.
Angle controls the ear. Hold the blade at roughly thirty to forty-five degrees to the surface and slice in one confident movement. The flap of dough created by the angled cut lifts as the bread expands and hardens into that crisp ridge bakers chase. Hold the blade flat against the dough and you get a wide, soft opening instead — perfectly good, just different.
The direction of your cuts matters too. Dough expands outward from the centre of the loaf, so cuts should guide that expansion rather than resist it. On an oval batard, slashes running along the length at a shallow angle let the loaf stretch and rise instead of splitting sideways.
Before the Blade Touches the Dough
Most scoring problems happen before the first cut. Cold dough is easier to score than warm dough — it holds its shape, the blade glides, and the loaf does not collapse under a moment of pressure. If you retard your shaped loaves overnight in the fridge, score them straight from there.
A few things worth having within reach:
- A sharp blade. A curved lame with a fresh razor, or a clean craft blade. A dull blade drags and seals the cut closed behind itself.
- A light dusting of flour. Enough to keep the surface dry and give contrast, not so much that the blade pushes a ridge of flour into the cut.
- A damp cloth or small bowl of water. For wiping the blade between loaves, especially with sticky, high-hydration dough.
- A settled loaf. Score once, decisively. Going back over a cut usually makes it worse.
Eight Patterns Worth Learning
1. The Single Slash
One cut, slightly off-centre, running along the length of a batard at a shallow angle. This is the pattern to master first, because it teaches depth and pace. Done well, it produces a long, even ear and a loaf that opens like a book. It also forgives a slightly uneven shape, which is why so many country loaves use it.
2. The Cross
Two intersecting cuts across the top of a round boule, forming a plus sign. Each cut runs almost to the edge of the loaf. The bread opens into four quadrants — good for high-hydration doughs that want to spread, and useful on very large boules where a single slash would not release enough tension. Keep the cuts the same length so the loaf rises evenly.
3. The Hash
Three or four parallel cuts in one direction, then the same in the other, forming a grid. It is the most forgiving pattern for beginners: no cut needs to be perfect, and the loaf rises evenly with almost no pronounced ear. Use it on sandwich loaves, large round loaves, and any dough where you would rather have a flat, even crown than a dramatic bloom. Cut shallower than you think — a grid cut too deep can flatten the centre.
4. The Ladder
Three to five diagonal slashes down the length of a batard, each overlapping the one before by about a third. The loaf opens into a series of soft ridges, a little like a leaf. This is the pattern for doughs that are well-proofed and quick to spread; the overlapping cuts distribute the release along the whole loaf instead of concentrating it in one place.
5. The Wheat Stalk
One long central cut, then four to six short cuts angled outward from it like the branches of a stalk. Each short cut is made with the same angled blade and the same depth as the main one. It suits oval loaves with a dusted top, and it is the most photographed pattern for a reason: it reads clearly against a dark crust, and it opens beautifully when the dough is strong and cold.
6. The Spiral
Start close to the centre and draw one continuous curve outward, rotating the loaf as you go. Steady, slow hand movement matters more than speed here. The spiral opens into a soft whorl rather than a sharp ear, so it works best on medium-hydration doughs — very wet dough tends to close the line up as it rises.
7. The Crescent
A single curved cut, like a wide smile across a boule. It releases tension in one direction, which makes the loaf rise and lean rather than bloom equally on all sides — a good look for rustic loaves with a slightly irregular shape. Cut it a little off-centre, deeper at the middle than the ends.
8. The Centre Diamond
A small diamond or square cut into the middle of a round loaf, no more than five or six centimetres across. As the loaf springs, the diamond lifts into a raised, opened window. It is decorative rather than structural, so pair it with a light dusting of flour and keep the cut shallow on the inside so the crust holds its shape.
Matching the Pattern to the Loaf
Pattern choice follows shape and dough more than mood. A quick way to decide:
- Long, oval loaves: single slash, ladder, or wheat stalk — cuts that run with the length.
- Round boules: cross, crescent, spiral, or centre diamond — cuts that radiate from or around the middle.
- High-hydration doughs: cross or hash, which release a lot of tension evenly.
- Stiff or enriched doughs: shallow single cuts, if any. Enriched doughs rise more slowly and tear less, so deep scoring buys you little.
- Gifting or serving whole: the wheat stalk or spiral, which hold their shape on the table.
When the Cuts Do Not Open
If your score seals shut, the dough was probably too warm or too far along in proof, so the surface stayed soft and collapsed back over the blade. Chill the shaped loaf for twenty minutes and try again on the next bake. If the loaf opens but no ear forms, check your angle — the blade was likely too flat. If the cuts spread sideways without lifting, the dough was over-proofed and had little strength left.
A blowout beside a neat score almost always means the cut was too shallow to release the pressure, or too short for the size of the loaf.
One Pattern per Bake
Resist doing a different design every time. Pick one pattern and bake it four or five times in a row, with the same recipe and the same proofing routine. You will learn what your blade does in your hands, how deep your particular dough wants to be cut, and how much of an ear your oven and steam setup can actually produce. That repetition teaches more than any photograph.
Then add the second pattern. Keep notes on the ones that opened well and the ones that closed up, and within a few months you will have a small, reliable repertoire — maybe three patterns you can cut half asleep — which is all most home bakers ever need.
Photo: Travel with Lenses / Pexels