Most sourdough starters don't fail dramatically. They send signals: a layer of dark liquid, a smell that could strip paint, a jar that bubbles enthusiastically but never actually grows. Learning to read those signals is most of the skill. The rest is adjusting one variable at a time instead of panicking and starting over.
What follows is a diagnostic checklist, roughly in the order problems tend to show up. Keep your jar on the counter, a rubber band around it to mark the starting level, and something to write with. Diagnosis without a baseline is just guessing.
Start here: most problems are feeding-schedule problems
Before you treat any symptom, check four things: temperature, feeding ratio, flour type, and the time since the last feed. A starter fed at 1:1:1 (equal weights of starter, flour and water) in a 19°C kitchen will look sluggish compared with the same starter at 1:5:5 in a 27°C spot. Neither is broken — they're on different clocks.
Weigh everything. A cup of flour can vary by 30 percent depending on how it's scooped, and volume measurements make hydration drift without you noticing. A digital scale settles arguments you didn't know you were having.
Sign 1: The starter barely rises, or doesn't rise at all
If you see a few bubbles on the surface but the level hasn't moved after eight hours, the culture is alive but underfed or cold. Work through these in order:
- Warm it up. Move the jar to 25–28°C — near a radiator, inside a turned-off oven with the light on, or in a cooler with a warm water bottle. Most starters double in four to six hours at that range.
- Feed less often, but bigger. A 1:5:5 feed gives the yeast more food and a longer runway than 1:1:1. If your starter peaks in three hours and then falls flat, give it a bigger meal rather than more meals.
- Add whole grain. Swap in 20–30 percent whole wheat or rye flour. The extra minerals and enzymes reliably wake up a sleepy starter.
- Check your water. Lukewarm is right; boiling hot kills yeast. If your tap water smells strongly of chlorine, leave it in an open jug overnight or use filtered water.
Bubbles but no height
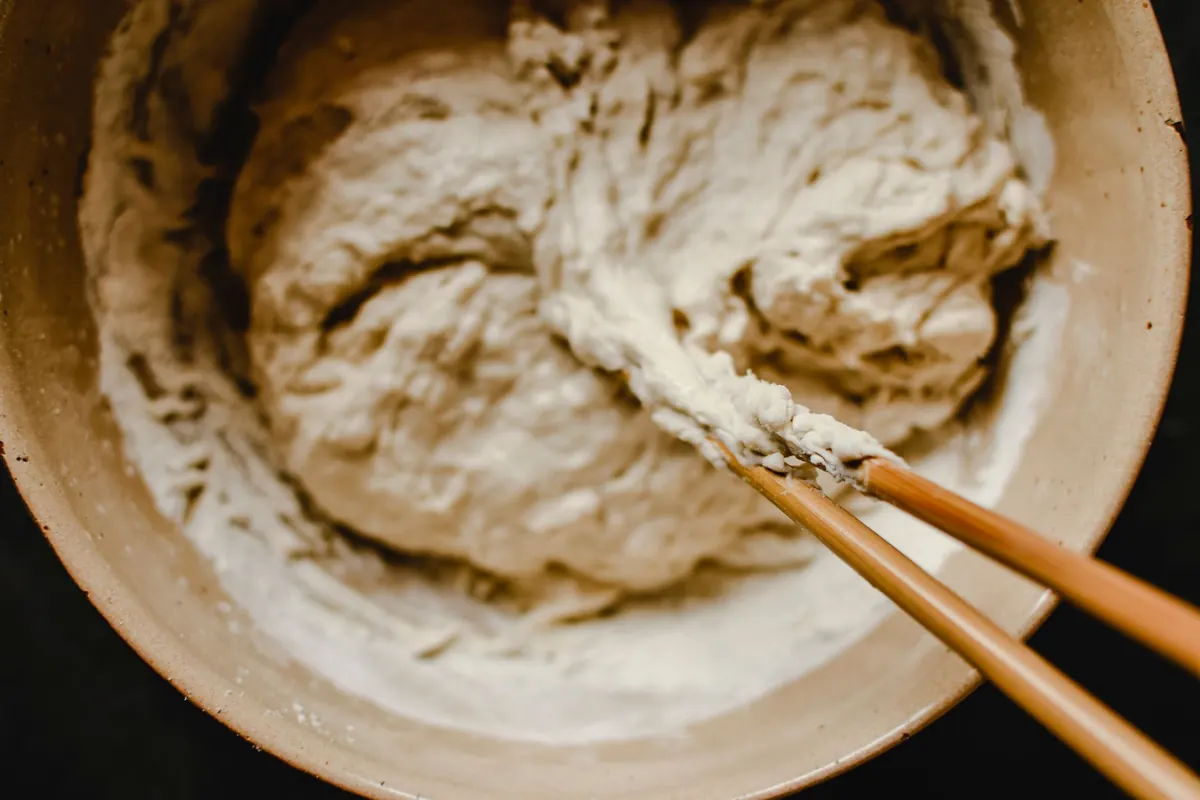
Whole rye starters can look busy and frothy while barely gaining volume — the flour is dense and the gas escapes sideways. Judge by texture instead: a well-fed rye starter becomes spongy and domed, and a spoon dragged through it leaves a soft trench that holds for a few seconds.
Sign 2: Hooch — the liquid on top
A layer of grey-brown or nearly black liquid is hooch: alcohol and water the yeast has produced, sitting on top because it's lighter than the dough. It is not poison and it is not a sign your starter is ruined. It's a sign it's hungry.
Thin, pale layer with a mild beer smell: stir it back in and feed. Thick, dark layer with a sharp smell and visible separation underneath: pour it off, discard most of the starter, and feed the remainder at 1:5:5. You'll see the difference within a day or two.
Hooch appears faster in warm weather and with watery starters. If it's forming within 24 hours of every feed, you're either feeding too little or keeping the jar too warm. Both are easy fixes.
Sign 3: Off smells, decoded
Noses are useful diagnostic tools, as long as you know what you're smelling for.
- Acetone or nail polish remover: hungry, long-unfed starter. Feed it.
- Paint thinner or vinegar sharp enough to sting: seriously neglected. Pour off the liquid and rebuild over several days.
- Vomit, feet, or sour milk: common in a brand-new starter during its first two or three weeks, when bacteria other than the ones you want are still dominant. Keep feeding on schedule and it fades into a clean yoghurt-and-yeast smell.
- Yoghurt, beer, or fresh bread: healthy. Nothing to fix.
Trust your nose for direction, not for verdicts. A starter that smells strong but rises well is a working starter.
Sign 4: Mould, colour changes, and the pink flag
Fuzzy patches — green, blue, black, or white and hairy rather than wispy — mean mould has colonised the surface. Discard the whole jar and start fresh. Scooping mould off the top doesn't remove the threads that have already grown down into the starter.
The same applies to pink, orange, or fuchsia streaks, which point to unwanted bacteria rather than yeast. It's disappointing, and it's not worth the risk. Dark crusty patches on the sides or a dried-out top are different: that's just oxidation and dryness, harmless. Clean the jar and cover it better.
Sign 5: It rises fast, then collapses to soup
That's not failure — that's a starter that has passed its peak. The gluten network has weakened and the gas has escaped. Feed it earlier, so it's still domed and just past doubling when you want to mix bread. Use the float test loosely: a spoonful dropped in water should float when the starter is at or near its peak. It's a rough guide, not a guarantee.
A starter that's permanently slack and soupy needs a stiffer feed. Try 1:1:0.8 (a little less water) and see how the texture changes. If it becomes ropey and elastic after feeding, it's healthy.
Reviving a starter you forgot about
- Check for mould, pink streaks, or a smell that's rotten rather than just sour. If any are present, start over.
- Pour off the hooch. Take 10 g of starter from the middle of the jar — the part least exposed to air.
- Feed 10 g starter, 50 g flour (roughly half white, half whole wheat), and 50 g lukewarm water.
- Leave it at 25–27°C for 24 hours, loosely covered.
- Repeat the feed, discarding down to 10 g each time, for three to five days — longer if it was weeks since the last feed.
- Once it doubles in four to six hours and smells pleasantly sour, bake with it.
Expect a false start. Revived starters often show activity on day two and then go quiet for a day before coming back properly. Keep feeding.
The habit that prevents most of these problems
Keep a three-line log taped to the jar: time fed, ratio, and room temperature. When something goes wrong, you'll have the answer in front of you instead of a week of half-remembered guesses. Change one variable at a time, then wait two feeds before changing another.
Store a spare. Keep 50 g of active starter in a small jar in the fridge as insurance, fed once a week. If the counter jar picks up mould or gets abandoned for a month, the backup gets you baking again the same afternoon. And use smaller jars than you think you need — a starter fed in a jar three times its size behaves far more predictably than one climbing the walls, and it's much easier to judge the rise.
Photo: tombock1 / Pixabay